RMC Type'b' Loyal Cycle Project
|
Well, the muffler castings machined like butter thanks to the high graphite content. So, I figured I'd do the main casting
machining since if I screwed them up at this point I wouldn't have a ton of other pieces built and waiting for a engine that
would never get finished.
|

|
The base and cylinder casting out of the box
|

|
Castings in the 3 jaw for a quick clean-up of the 'nub'. I choose the 3-jaw for this operation since it didn't need to be centered yet.
|

|
Center drilled on the centerline of the cylinder and tailstock mounted up. I'm still using the three jaw to make sure that there isn't
so much weight that I need to counter-weight the casting. Use heavy pressure grease on the center to keep from galling the tip.
|

|
Mounted in the 4-jaw, aligned, and the mounting pads cleaned up. Take you time indicating and truing as this set-up will
remain in place through the cylinder boring. Good set-up now will save you headaches later!
|

|
Rough bore for the cylinder is drilled to depth using the appropriate sized drill. Take it slow, don't rush it and your set-up will stay true.
|

|
Boring the cylinder to dimension. Use as short and thick a bar as possible for rigidity. This will minimize the tendancy to taper the bore
over a long cut.
|

|
Bore is finished and ready for hone. I will do this once I am ready to cut the piston. Alao, the cylinder head mounting surface
has been machined flat and to the proper diameter
|

|
Out of the lathe and on to the mill. I locked the casting to the table with the hold down clamps on the mounting screw tabs.
This seems to give excellent hold to the piece. Initial clean up was with a 4 flute cutter and then fly-cut to finish
|

|
Drilling the axle shaft bore. Take plenty of time to align this! Use pennies or brass packing to hold it in the jaws. This gives
you plenty of soft material to squeeze the casting nice and tight so it won't move. Make sure the alignment is good and drill slow! I also
faced and spot drilled the mounting faces on the back of the casting.
|

|
Casting to this point with the extra plug cut off. Looking pretty good
|

|
A little out of sequence, but it's what I felt like doing next. I reamed the crank bore using a trusty old morse hand taper. I love these
old tapers, they're from the '30's or '40's. Still wicked sharp even with the rust coat, I've cut myself several times on them.
|

|
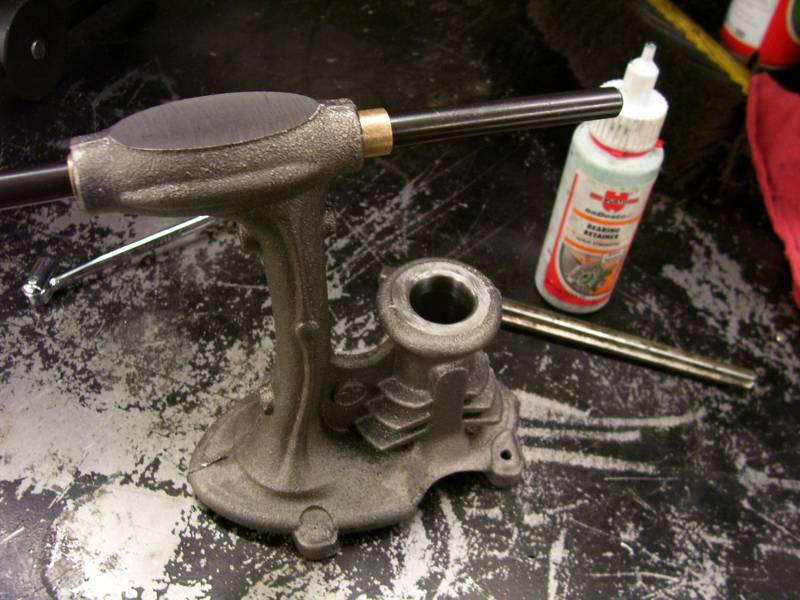
After I reamed the hole out, I test fit the bronze bushings. They were a snug hand fit, just like I wanted. A drop or two
of locktite green bearing retainer and pushed them to depth with my fingers. 2 minutes later it takes a LOT of heat and frustration
to get them back out again. This stuff will even work with a gap of up to .004" around the bushing.
|

|
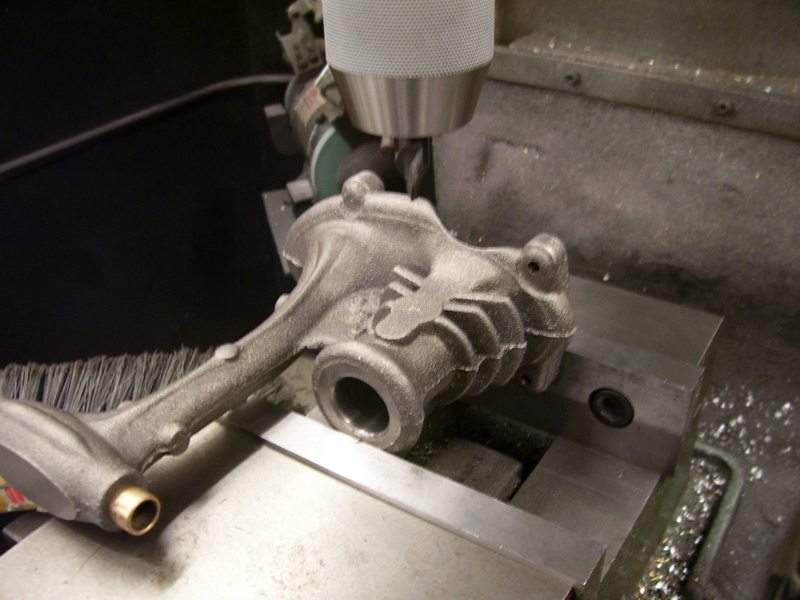
Spot drilling on the exhaust side for the intake/exhaust hole
|

|
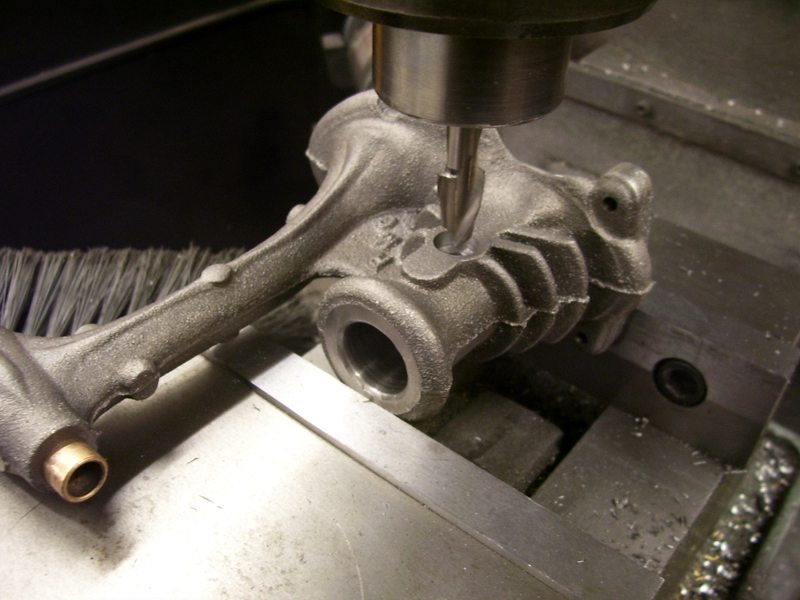
Cutting the exhaust spigot hole to depth
|

|
Facing a spot for the spark electrode hole
|

|
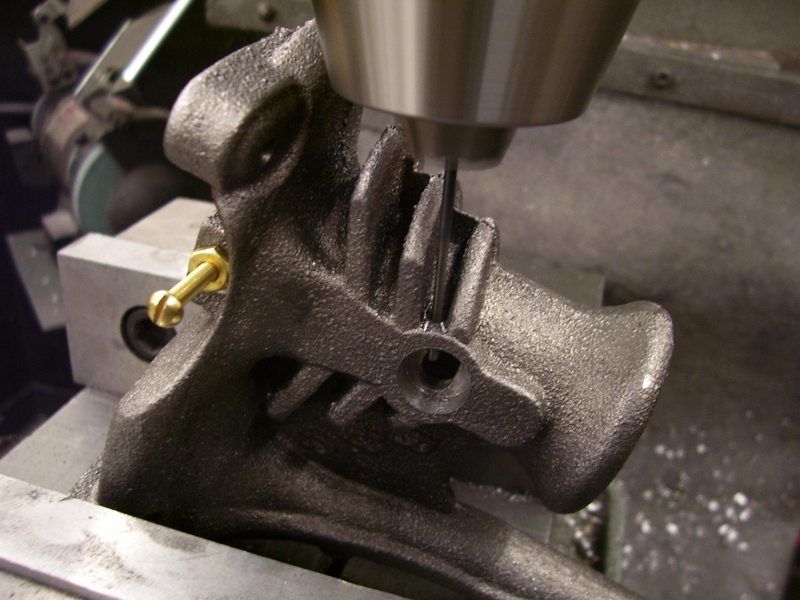
Drilling the hole for the exhaust retainer screw
|


